So, it's been a few weeks since the last post... we needed a break from the routine and electronic devices, and so we spent 10 days here:
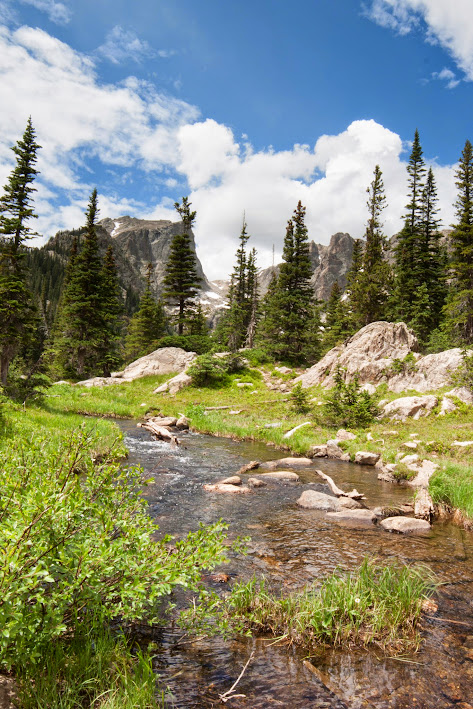
Rocky Mountain National Park
Just before we left, I finished up a project for a friend, let's call her M. M had asked me a few weeks ago if I would refinish her picnic table that was in need of some love, and I was happy to do it. M says she likes the weathered look, and brown is perfectly fine with her. Since she was on vacation just before we were leaving, I decided it would be great if I had it waiting for her when she got back- note, this was totally self-imposed. I had two weeks to get it done- no big deal, right?
So, here's how it went down, in timeline fashion (note, for anyone who might want to create something similar, there are summarized directions at the bottom of this post):
2 weeks to go:
Picnic table is dropped off, and I have plenty of time. I think I might even squeeze in a few more projects before I leave.
**Does absolutely nothing project-related for a week**

1 week to go:
Decided that stain is the best option to get a nice, rich brown for this table, and brown paint just wouldn't be the same. That means that the table needs to be sanded down to the bare wood to get rid of the red stain that was left on there. I buy sandpaper for my baby-sized sander in the coarsest grit available, and get to work. The weathered sides of the table sand easily; the legs and underneath side, not so much. After a couple hours of sanding, I realize this might take a while.
6 days to go:
Sunday.
5 days to go:
Rain. Still have plenty of time.
4 days to go:
Rain.
3 days until M gets home:
I sand my little heart out, and realize that this just isn't going to happen. Call the hubby and ask him to buy chemical paint/lacquer stripper. Don't like this stuff, but figure it's necessary. Dark when hubby gets home.
In hindsight, I probably should have just left the underneath side of the table as it was. It was in great shape, and no one would see that it didn't match. Oh well...
2 days until M gets home:
Chemical stripper and all of his toxic chemicals can't get all the lacquer off of this baby. Return to sanding until the table is clean-ish.

Put on wood conditioner to help the table take the stain evenly, then it gets dark before I can stain. Oops. Put one coat on anyway.
1 day until M gets home:
See the stain in the daylight, and oh my does it look terrible. I applied the stain ok, but the color is just wrong. Panic a little bit. Find out exactly what time M is expected to be home.

I pull out all of the stains I own, and none of them are working. There was enough of the old red showing through that nothing could blend in just right, except more red, which M (and I) didn't want.
Find left over paint from a failed project, and get the idea to paint the table, and layer the stain over the paint. Test this theory on a deck board, since it is going to be ripped up soon anyway.

I like the result, so it's off to the races on the table. Luckily the sunshine and the warm weather helped me out and made this part go quickly.
First I painted the table, and let it dry.

Next, I lightly sanded the table to take the paint mostly off the grain. Then, I stained over the paint, wiping the stain off almost immediately.

I wanted to make sure that the table would be durable, so I still needed to apply a protective coat.
8 hours until M gets home:
Apply a poly coat of outdoor grade satin urethane. Have to let it dry, and realize that this table is only going to get one coat if it's going to make it to M's house in time.
6 hours until M gets home:
Buy a few items to stage the table. Get a little worried about the finish, because it's nothing like the brown M described, but it is the rustic that she is a fan of... Ask hubby for his opinion, and get the answer, "well, you know it's not what M asked for...". Ahh!
2 hours until M gets home:
Pack the table in the truck and haul it over to M's. Stage and photograph the table. Leave a note promising to finish the protective coat if she likes it, and repaint if she doesn't.

Luckily, M likes the table, and so I just need to finish putting the weather-proofing finish on it. In case you like this idea, here are the steps to follow (leaving out the unnecessary ones where I changed my mind):
1. Remove old finish, especially if the table is lacquered by sanding with a coarse-grit paper. Clean off any dust after sanding.
2. Apply paint to table, in as many coats as it takes to get an even finish. This is really up to you, but one or two should be fine. Let dry completely. I used satin paint that was close in color to Behr's Dolphin Fin. I used indoor paint because it was what I had laying around. I think the urethane coat will protect it just fine, but if you are buying paint you may want to consider using exterior paint.
3. Lightly sand the table to bring out the grain and create a weathered look. Focus on the edges and raised areas that would be naturally worn over time.
4. Apply stain and wipe it off with a clean rag (I used an old t-shirt) after a few minutes. i used Minwax Wood Finish in Classic Grey. I didn't use an exterior stain because I could only find stain made for decks, which was not the right color and only came by the gallon. Again, since it was really just to add a touch of color, I think it's ok, but you can be the judge for your project. Let the table dry.
5. Apply a few coats of outdoor grade protective urethane, following the manufacturer's directions for time in between coats. I used Minwax Helmsman Spar Urethane in Clear Satin.


Close-up of the finish
So, unnecessary self-imposed deadline aside, I think this one turned out pretty well. It was a fun challenge to try to fit someone else's taste, and it was fun to come with a finish that wasn't just a simple coat of paint. Have you had any projects that needed some improv mid-way through?
~Amy
No comments:
Post a Comment