I think I have mentioned before on the blog that I received some really good advice from a very thrifty coworker regarding paint: buy the best paint you can afford. There are ways to save money when decorating your home, but paint is not the place to be cheap. Let me explain why I subscribe to this theory.
We moved into our house about 3 years ago, and the walls were butter yellow. Fine for the look the previous homeowners were going for, but not my style. So, before we even moved in a friend and I painted the main area of the house. The only problem was, after going through the process of buying the house, I was not in the mood to spend more money! I bought the cheapest paint that I could, reasoning that I would probably change my mind in a few years anyway (my childhood room was painted something like 5 times in my 20 years there), so did it really matter?
It mattered the first time I tried to clean a spot off the wall.... and wiped off the paint. I painted with the right finish (eggshell), which meant that it should have been ok to clean. Then it started chipping and peeling away every time something would rest against it, even something light like a picture frame. The last straw was this week when i came home to find a wreath, which was hung with a 3M hook, laying on the floor. The hook was fine... the paint had peeled away from the wall! This particular wreath was a gift specially made for me, in the best colors on earth- maroon and orange- because I love my Virginia Tech Hokies. Now I am entering football season without proper team swag, which is truly unacceptable. (Go Hokies!)
Here's the thing- three years later, I still like my paint color. Go figure, the one time I'm not sick of it, and it falls off the walls on it's own! Whether I like it or not, fresh paint is in my future.
Since I have to paint anyway, I am taking the opportunity to tweak the colors just a little bit. Why change if I like the colors? It's not a big change, but it will help tie in the other colors in the house. I have been reading lately about using a consistent color palate throughout the whole house, so I'm trying to give that a go.
Ok, let's cut the chatting and get down to some before and after photos, shall we?
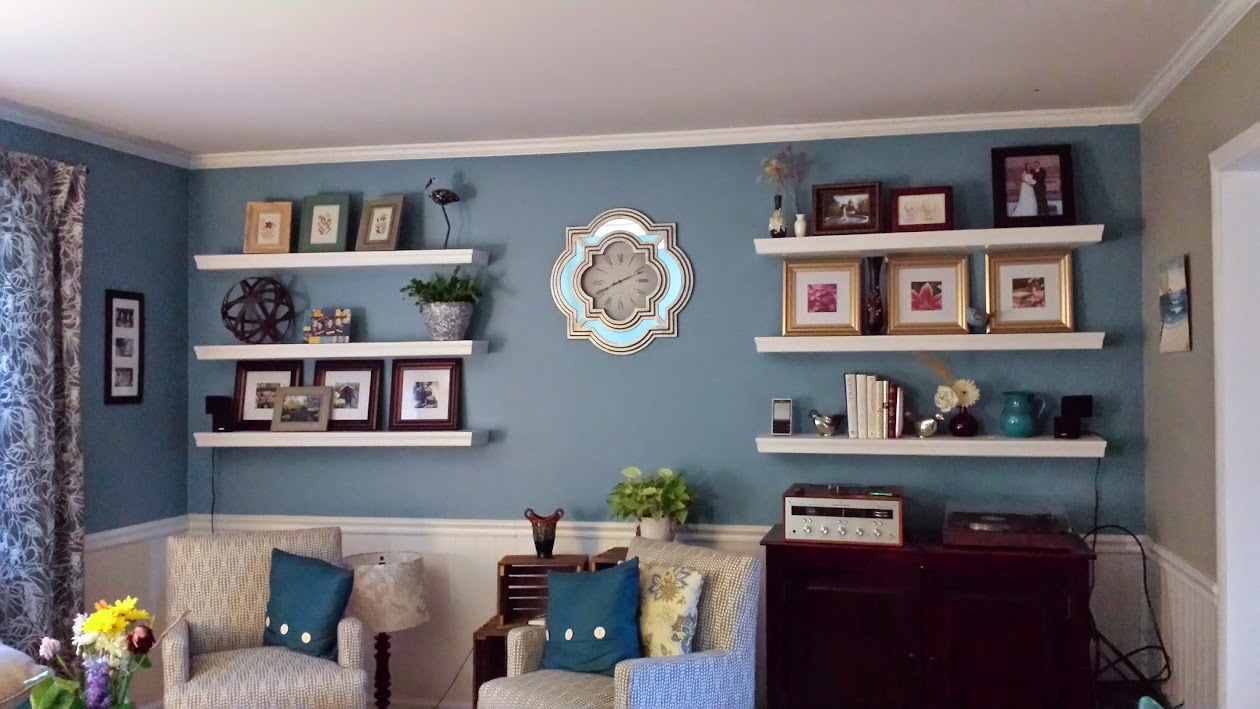
In my house, the living room, entryway and main hallway are all connected, so they all get the same paint scheme. I used two colors just to break it up. Here's how it looked:
Before:
.jpg)
After:

Before:

After:


On the cards, here are the colors:
Before (I don't think the actual paint was Valspar):
After:
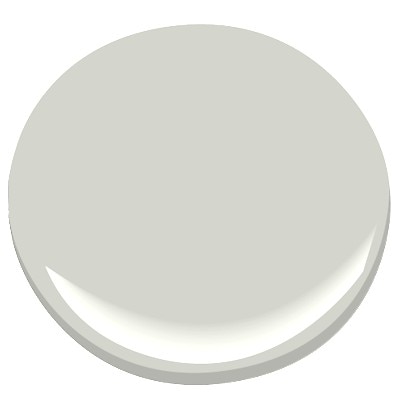

Benjamin Moore Gray Owl and Colorado Gray
As you can see, it's not a huge change, but I think it works a lot better. After a long discussion with the sales rep, I went with Benjamin Moore's 'Ben' line of paint, and even though it is one of their less expensive options (remember, most expensive paint you can afford at the time, not most expensive in existence!), it looks really nice and I have already successfully cleaned a spot off the wall! It did feel a little thinner than I am used to, and I was a little surprised that I needed 2 coats, so I am not sure sure how it would do with a really bold color. The final product does look really nice! Side note: I have also had good success in other rooms with Behr's Premium Plus Ultra paint.
I know I skipped right to the "after" photos, but here are a few tips to deal with less-than-high-quality paint:
- Your first step should be to wipe down the walls to make sure you have removed any dirt or oil- and this time, who cares if you rub the old paint off! :)
- Before you paint your new color on, lightly sand the walls in any place where you see bumps, drips, or chips in the old paint. If the chips are deep, fill them now. I used lightweight spackling to do this, although you may need something different if you have large areas to repair.
- Prime the walls with a good primer, focusing on any chipped areas to make sure you have 'sealed' them off.
-I'm sure most of you know this, but if you have areas with high ceilings, you may not need a special pole to attach to your roller handle- most brooms and mops have a removable pole that will fit your roller.

swiffer mop to the rescue!
- For what it's worth, I like using this tool for my edging, which saves me from taping. There's definitely a learning curve to this thing, because if you dunk it in the paint the wrong way it will make more of a mess, but once you get the idea down, it is a definite time saver.
Total cost for this project: ~$80 for paint and supplies
Total time for this project: 8 hours plus drying time
The kitchen is the next room on the list for paint (it was also painted with the bad paint), and it will be a more dramatic change, so stay tuned!
~Amy
BEAUTIFUL!
ReplyDelete