Today I'll be revealing my new home office! To recap from Part 1, my goal was to keep the cost for this room to a minimum, since I'm not positive that this room will always be an office. Although given the tiny size (6' x 8'), I'm not sure.
We moved the actual office furniture out of this room a few months ago, and I didn't think to photograph it- Sorry! So, for a before picture, here are the really sad, mildly embarrassing photos of what we were temporarily living with:

(we had closet doors, but I had taken them off to paint)

The goals for this room were simple:
- Re-use as much as I could from other rooms in the house, to help minimize costs
- Have enough storage space to house everything that should be stored in this room
- Keep the clutter to a minimum
So, here's what I came up with:

The room is painted in Gray Owl from Benjamin Moore, which matches some of the other main living areas in our house. I like this color because it's just dark enough so that you know it's there, but doesn't darken the room or add any weight to it. Hopefully that makes sense...
The desk is made from a salvaged work surface from an office desk. I painted some table legs in the same antique white and gold as the chair. Helpful hint:
I set the table legs up like this so I could paint the whole thing at once:

The legs came with screws sticking out of them to attach to a table, so I just drilled holes of that size into a spare piece of wood. Simple!
The legs are attached using these:

Like this:

If I'm totally honest, these legs aren't as stable as the ones that my hubby had installed previously, which were old school desk legs with extra reinforcement built in. I still like these better, but I may have to find a way to stiffen them up a little bit (I'll keep you posted).
Moving on, I grabbed a chair that had been floating around the house without a home, and "slipcovered" it with a white blanket:

It's very cozy, and the white looks much better in here than the red cushion that's underneath. I have a couple special family touches that you can see in this photo: my Mom (a needlework master) made me the pillow in the chair, and my Grandmother (another awesome lady) painted the painting on top of the bookshelf. I'll eventually want to frame it, but it works for now just sitting on there. She'd be embarrassed to know that I am still decorating with her "practice pieces" but I love them.
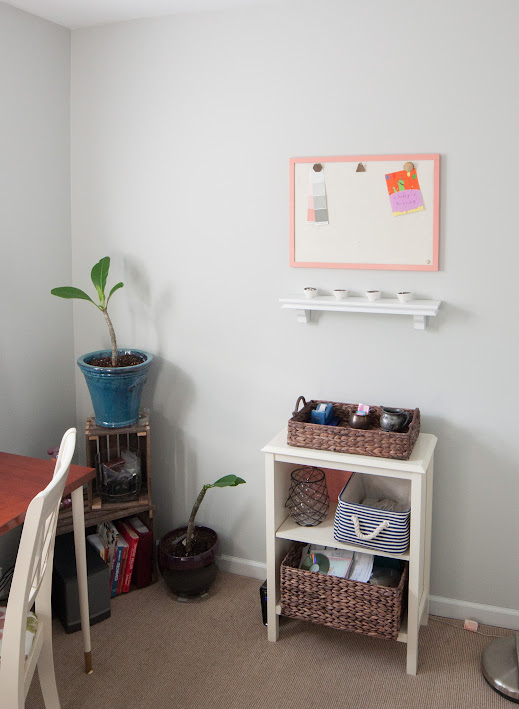
The other side of the room holds all of my ideas:

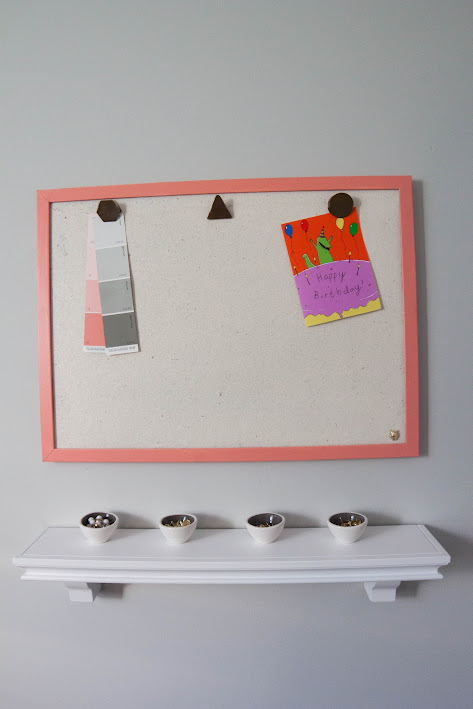
The bins have paint samples, inspiring magazine clippings, paper, etc. Side note" my little sticks with leaves on them are Plumeria cuttings, which were a birthday gift from the hubby. They are my favorite flower, but can't really grow in a Pennsylvania climate, so I'll keep them indoors. I can't wait until they bloom (might be a while...)! I also really like my cork board:

This was put together with things I already had laying around (free!). I painted the cork in the same antique white used elsewhere, and the frame in the Passion Fruit that I used on the back of the bookshelves. The clips are from Target, which I had the hubby drill little holes in so that they could be hooked to the board with a large thumbtack. The shelf is leftover from a set of 2 (I used the other one here). I did buy the little bowls from West Elm, which hold my little thumb tacks.
Just in case you are wondering, here's the other side of the room:

There are a few tweaks that I would like to make, and a few more paintings and things I would like to hang (see them in the corner above? haha), but I now have a functional and organized office:

In total, I think the room cost me about $300 (remember, the bookshelves were about $200 of that), mainly because I was able to grab things that I already owned. I did buy a lot of the baskets and accessories, but I think they help to manage the clutter really well.
Hope that you like it, and maybe are inspired to tackle that "junk" room in your house!
I've been working hard outside too, and hope to have some updates posted for you soon!
Have a great holiday!
~Amy
No comments:
Post a Comment