This is probably not our "forever" home.
So why bother doing more than regular maintenance?
But it needs work. I could not pass the problems on to the next family.
Then why not make it better while I'm fixing?
This stuff stresses out my family (dog included).
Is my style what will sell a home in Lancaster County?
Am I going to finish making this house mine, just in time to move?
Does this cost too much?
Does any of this sound familiar to anyone? Well, that's the common theme in my head as I have been thinking about our kitchen. The counter tops are worn out. The cabinets aren't made well. The floor has gaps in between the crappy tiles and they are approximately the color of dirt. But to fix all of that will take tons of effort (and money!) that I can't give right now.


Chipped Counter

So, to try to find some sort of happy medium, like where I didn't have to look at the floor gap anymore (eww), I tried an experiment. No crazy new ideas, but most of it was done with materials that I would typically turn my nose up at.
What did I do? Epoxy, paint and peel and stick tile. And so for about $150, this is my kitchen refresh:

1. Epoxy
Like I said, my counters were trashed. As in, nothing I could do could make them worse. I toyed around with the idea of putting in butcher block or some DIY version, but that seemed like too much effort. I looked at those counter transformation kits, but the $200 was too much money for these counters. Then I found this, which was about $20:

Bingo. Why not? It doesn't come in the white that I wanted, but the home depot paint person offered to "tint the crap out of it" for me, and that was that.

My expectations were low, but after about two months of use, they seem to be doing fairly well. I did find one small chip recently, but otherwise they look the same as they did when i first coated them. Here are the challenges I had with the coating:
It smells horrible, so do this on a day when windows van be open.
It took two weeks, at least, to cure. The can said something like 3 days, but after 4 I put hot tea on the counter and it made a permanent dent in the counter:

Maybe this was because I tinted with paint? I followed the directions and applied a second coat within an hour but maybe should have gone the 'more than 24 hour' alternative? Who knows. It seems to be fine now.
My curious dog jumped up to see what was going on and left two muddy paw prints and fur in the paint. I never was able to get the texture right in that spot afterwards!

I burned through more mini rollers (as low nap as I could find) than I expected.
Oh, and it wasn't a challenge but for those taking notes, I did sand and then prime the counters before applying the epoxy.
2. Paint
I painted the lower cabinets in Benjamin Moore Desert Twilight in semi gloss. I actually picked this color by moving to the dark end of the swatch with my go-to gray, BM Gray Owl. I didn't see the green undertones before, but they do show up more in the Desert Twilight. It's a warm earthy gray, and most days I like it.
Part of the reason the paint was reading so green at first was because of the warm white light bulbs I had in the overhead light fixture. Most of my other light bulbs in the house are more of a cool white, but these are a funky size that predominantly come in warm. I did manage to find daylight bulbs (~5000K), which made a pretty big difference:


3. Peel and Stick Flooring
This was the one piece of this project that I had a hard time deciding if it was worth it. For non-hideous vinyl, the cost is similar to real tile. A lot of the prints are ultra fake, and I have this weird thing about repeating patterns I'm something that is supposed to look natural. But, you can't beat the installation. You need a square and a utility knife. That's it.
These were the options I considered, and in my opinion it was worth spending the $5 to bring home a tile of each and see it in the room:

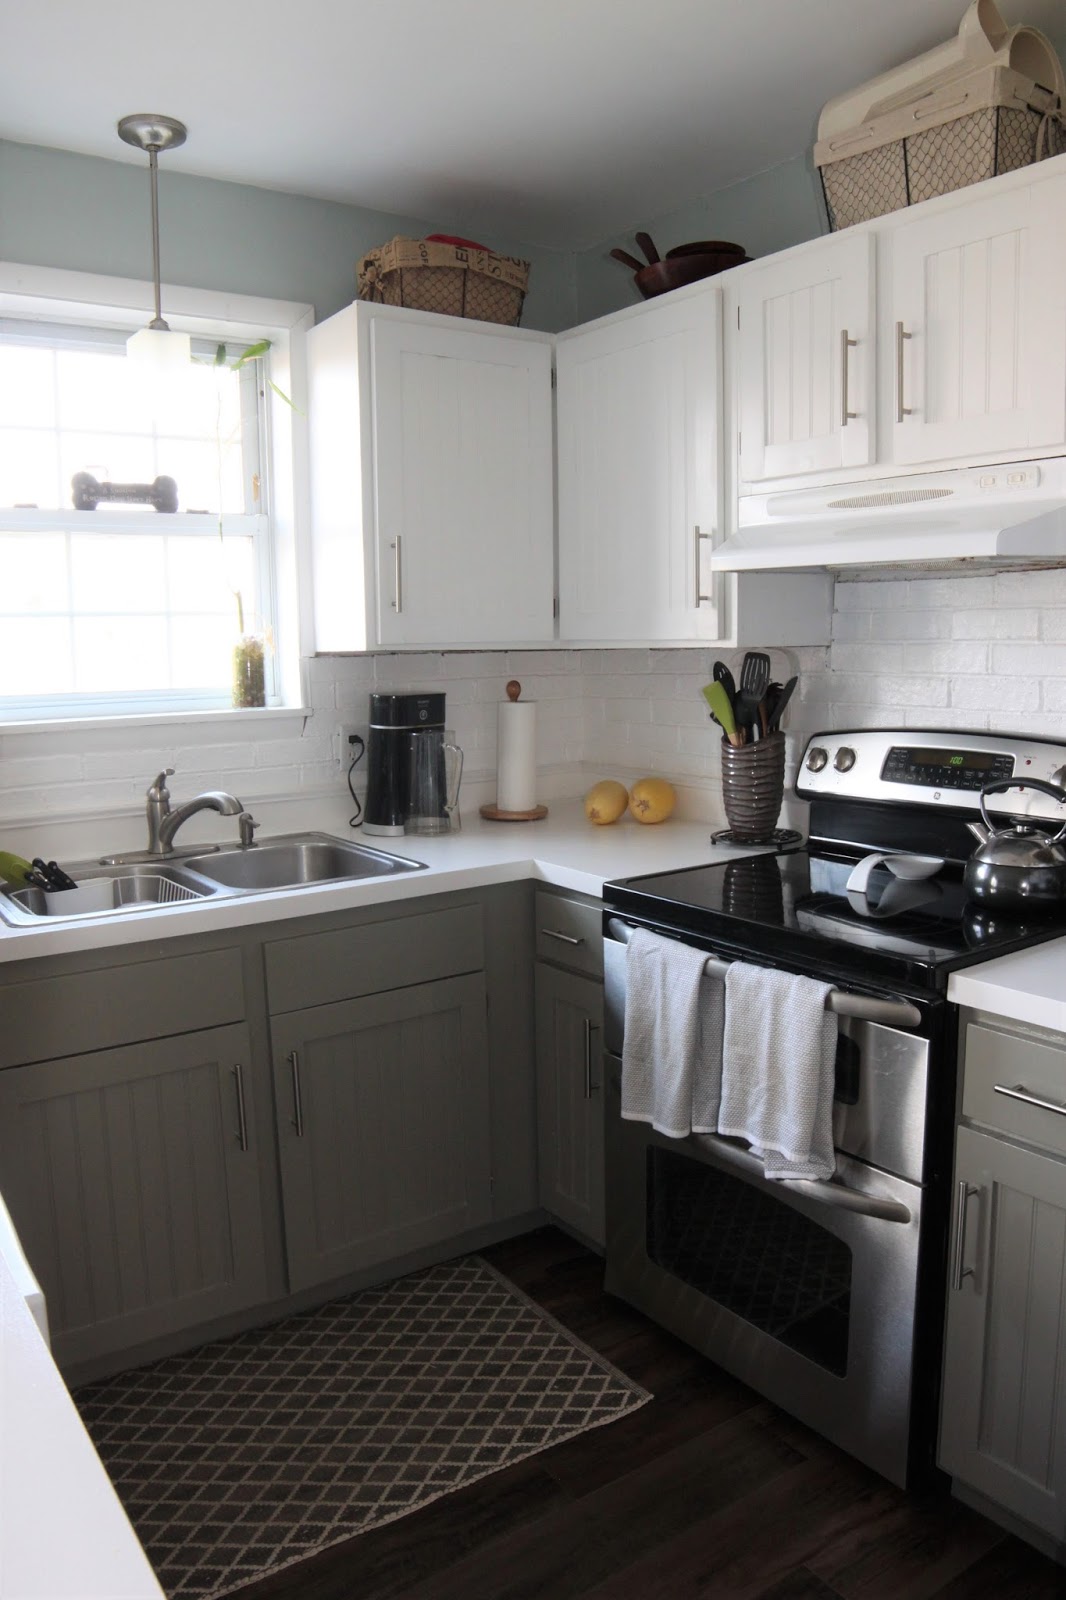
I landed on a pattern called Antique Woodland Oak (the one against the far counter in the picture), and needed about 75 square feet. The hardest part was moving the appliances and such out of the way and putting them back without tearing the floor up.


This part has only been finished for a few weeks, but I like the warm color and that it doesn't totally clash with the oak in the rest of the house. I like that it doesn't have issues with moisture (no worries about doggie slobber staying on there for an hour before I notice it).
So, for something to do in a room as a temporary fix, I think this was pretty good. It warmed up the room without being too dark, and gave everything a fresh clean look.
Before:

After:


No comments:
Post a Comment